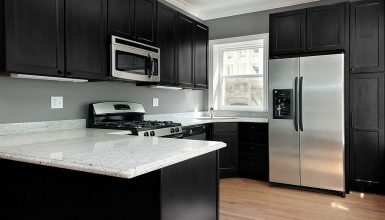
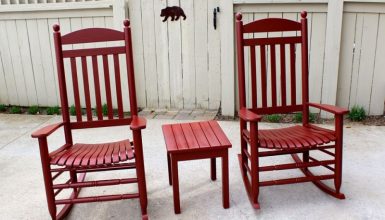
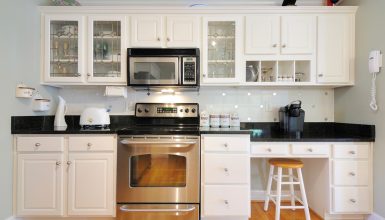
If you have been following the blog then you’d remember us talking about refreshing the kitchen cabinets in our daughter’s home with Rustoleum Cabinet Transformations. We finally got around to it two weeks ago and were quite surprised with it.
It wasn’t half as bad as we expected it to be. Going by some of the feedback that we had received, we thought that it would just ruin the cabinetry.
But the cabinets weren’t that great, to begin with. They were builder-grade cheap, oak ones that were on the verge of being ripped down.
This was a last-ditch effort on our part to save close to $10,000 and extend their lifespan by a few years. And we were yearning for a new DIY adventure. So we said, heck why not!
To cut a long story short, Rustoleum Cabinet Transformations worked amazingly well. More importantly, it comes with a 100% customer satisfaction guarantee. If you are not satisfied with the results or with the product, you can claim a full refund.
What is Rustoleum Cabinet Transformations?
- 101-Square-Foot kit is perfect for kitchen cabinets bath vanities and furniture
- No stripping no sanding no priming
- Easy to use no special skills required
- Ideal for wood melamine metal and laminat cabinetry
- Available in top cabinet colors: Pure White, Espresso and Cabernet
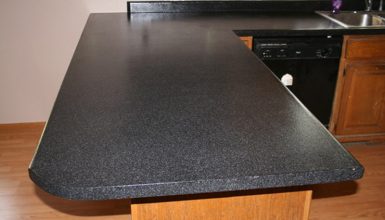
Rustoleum has an array of DIY, surface-protective coating systems for cabinets, wooden floors, furniture and countertops which are sold under their ‘transformations’ range of products.
The Cabinet Transformations is a cabinet coating paint and primer blend that is available in a variety of colors. You can further tint it to just about any color of your choice.
You can paint it on the cabinets without removing the doors, sanding or priming them. Quite similar to the Giani Nuvo Cabinet Paints which we have reviewed in detail over here.
One notable difference though is that Rustoleum cabinet transformations cannot be used on metallic cabinets. The paint only adheres to wood, laminate, and melamine. However, the color choices in Rustoleum are quite elaborate. Something that’s lacking in Giani, which is only available in a handful of colors.
The all-inclusive kit is available in two sizes. The small kit covers a standard 100 sq. ft kitchen whereas the larger one covers double the area.
Does it Work on All Cabinet Surfaces?
The paint adheres only to wood, laminate, and melamine as we mentioned earlier. But even on these surfaces, adherence becomes a hit or miss if you do not sufficiently de-gloss the surface.
We discovered this the hard way after we noticed a few cracks on one of the doors. But we had run out of a bond coat and it is not available for purchase separately.
So, ensure that you get the surface de-glossed well or the paint won’t adhere as well as you want it to. This leads to cracking.
Another potential problem that can arise with the top coat is yellowing. Applying too much of it will yellow the surface and if you have selected the white color, there’s nothing more annoying than seeing a yellow tinge to it after you go through the entire process.
How to Apply Rustoleum Cabinet Transformations?
The application is pretty easy once you get the prep work done. Since we had some expertise using a DIY kit earlier, we were able to finish it within two days. If this is the first time you are trying this without an extra pair of hands, it might take a lot more time.
- Degloss
The kit includes a scrub pad and a deglosser solution. Just scrub the cabinets completely to degloss them. It is highly recommended that you do this in a well-ventilated area and use protective goggles, gloves, and a mask. If there are small kids in the home, send them away to a friends’ or a relative’s place until this step is completed.
- Patchwork
If there are any holes or scratches in the cabinets, use wood putty to fill it up.
- Sanding
Sand down the cabinets with any standard grit sand sponge.
- Bond coat
You need to get the bond coat tinted at the store itself to the color of your choice or you can select the color when you order online. You cannot do this step at home. The application is very easy. It is not as thick as paint but not very watery either. The consistency is just perfect for DIY use.
- Glaze (Optional)
You can choose to apply the glaze top layer or just let it be. If you have selected the darker shades, then go for the glaze by all means. It adds an even luster to the finish and looks more uniform according to us. The white colors look much better without the glaze.
- Top Coat
Like we said before, be careful while applying the top coat. Avoid repeat application in an area or it turns yellow after drying.
Rust-Oleum Cabinet Transformations Kit Review

Right from the instructional DVD to the inclusion of the protective top coat, Rustoleum Transformations is a well thought out package.
The quality is exceptionally good (No chips or cracks after two weeks in a house with three kids) and if we’d known this earlier, we might have been on the fence choosing between this and the Giani Nuvo.
However, we have no complaints with either of them.
Here’s what we liked the most about Rustoleum Cabinet Transformations.
Pros
- All inclusive, budget-priced makeover kit
- Extremely easy to use
- No sanding or priming
- No need to strip down the cabinets
- Available in a variety of colors and shades
- Protective top coat included in the package
- Option to glaze the bond coat
- 100% money back guarantee
Cons
- The only nit that we could pick is that if you are going from a dark cabinet to a white shade, you might need more than the recommended two coats.
- The company recommends that you use a paintbrush. There were hardly any brush strokes mind you. But using a roller is so much easier.
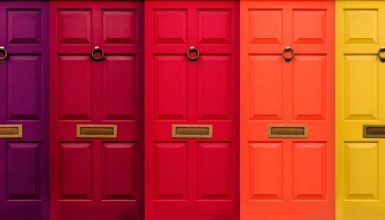
Top Rated Rustoleum Cabinet Transformations Colors
Conclusion
Despite a few minor niggles, the overall experience of using the Rustoleum Cabinet Transformations was very good. Those oak cabinets definitely look much better and my daughter loves the makeover. Couldn’t ask for more.


