
Red oak floors are a classic choice for many homeowners, but achieving a natural look with these floors can be a bit trickier than with some other types of wood. The key is understanding the characteristics of red oak and choosing the right finish to bring out its natural beauty.
In this post, we’ll go over everything you need to know to make your red oak floors look as natural as possible. From preparing the floors to choosing the right finish and maintaining the look over time, we’ve got you covered. So if you’re ready to give your red oak floors the natural look they deserve, keep reading!
Understanding red oak floors
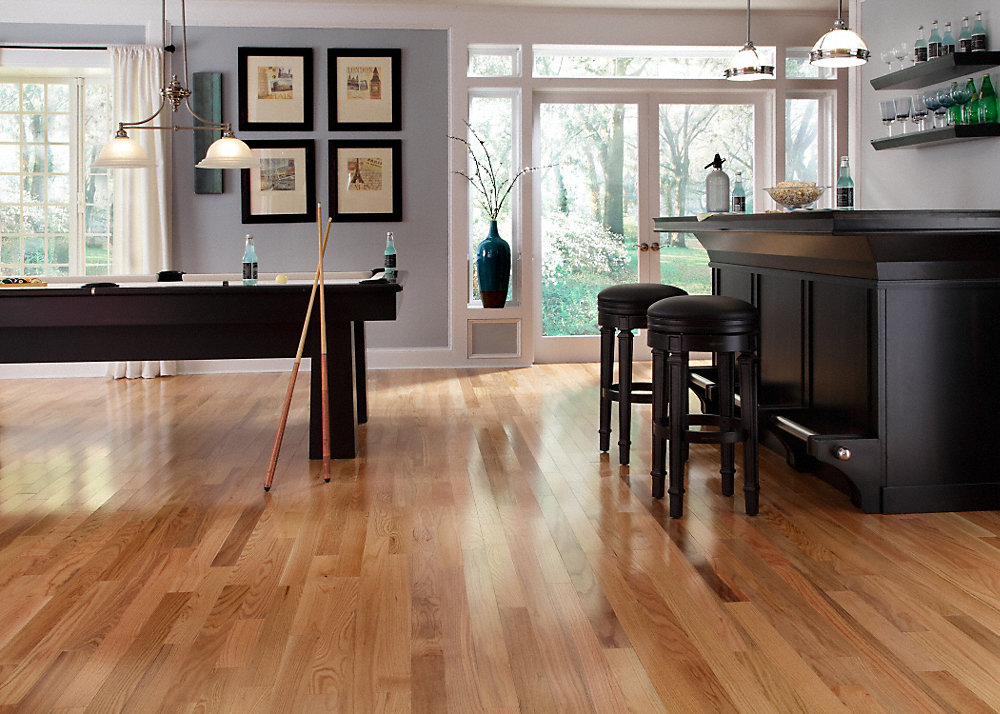
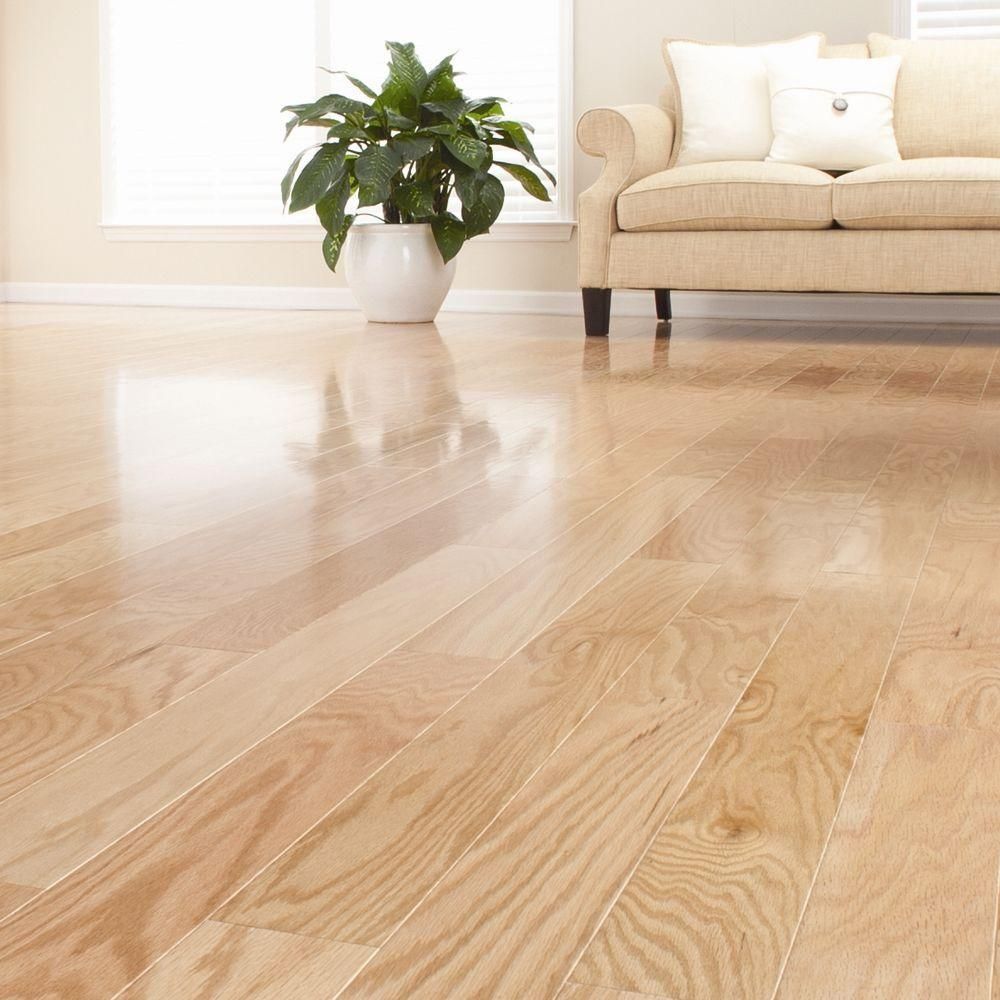
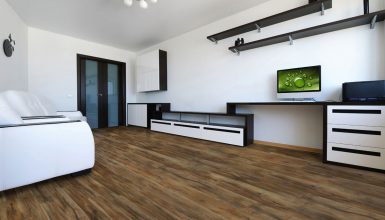
Red oak floors are a popular choice for homeowners due to their durability, versatility, and beautiful grain pattern. They have a light to medium brown color with a reddish tint, and the grain is usually straight but can sometimes be wavy or curly.
One of the defining characteristics of red oak is the distinct “ray” flecks that run perpendicular to the grain. These flecks are rows of cells called medullary rays, which are responsible for transporting nutrients throughout the tree.
One of the benefits of red oak floors is that they can be stained to achieve a wide range of colors, from light to dark. This makes them a good choice for those who want to match their floors to a specific color scheme. However, it’s important to note that red oak tends to absorb stains unevenly, which can result in a blotchy finish if not done properly.
Another thing to consider with red oak floors is that they are prone to dents and scratches. While this can be a drawback for some, it can also be seen as a sign of character and add to the natural, rustic look of the floors.
Preparing the floors
Properly preparing the floors is an essential step in achieving a natural look with red oak. This involves sanding and cleaning the floors to create a smooth, even surface that is ready to receive a finish. Here are the basic steps involved in preparing red oak floors:
1. Sanding: The first step is to sand the floors to remove any existing finish, as well as to smooth out any imperfections or blemishes in the wood. You’ll need to use a floor sander, which can be rented from a hardware store. Be sure to follow the manufacturer’s instructions for the sander, and wear a dust mask to protect yourself from the dust.
2. Cleaning: After sanding, it’s important to thoroughly clean the floors to remove any dust or debris. You can use a broom or a vacuum to sweep up the dust, and then follow up with a damp mop or cloth to remove any remaining particles. Be sure to let the floors dry completely before moving on to the next step.
3. Filling: If you have any gaps or cracks in the floors, you can fill them in with wood filler. This will help to create a smoother, more even surface for the finish. Once the filler is dry, sand it down to create a seamless transition between the filler and the wood.
By taking the time to properly prepare the floors, you’ll be setting yourself up for success in achieving a natural-looking finish. The floors will be smoother, cleaner, and ready to receive the finish of your choice.
Choosing a finish
There are several types of finishes available for red oak floors, each with its own set of pros and cons. Here are the most common options:
1. Oil-based finishes: These finishes penetrate the wood, providing a natural look and feel. They are durable and easy to touch up, but they can yellow over time and have a strong smell during the drying process.
2. Water-based finishes: These finishes dry faster and have less of a smell than oil-based finishes, but they may not be as durable and may not provide as much depth and richness to the wood.
3. Polyurethane finishes: These finishes provide a tough, protective layer on top of the wood. They are available in both oil-based and water-based versions, and they can yellow over time. They are generally more durable than oil-based finishes, but they may not provide as much of a natural look and feel.
In choosing a finish for your red oak floors, it’s important to consider your personal preferences as well as the look and feel you want to achieve.
If you want a natural, rich look, an oil-based finish may be the way to go. If you prefer a more modern, streamlined look, a water-based or polyurethane finish may be a better choice. Ultimately, the best finish for your red oak floors will depend on your specific needs and goals.
Applying the finish
Once you’ve chosen the right finish for your red oak floors, it’s time to apply it. Here are the basic steps involved in applying a finish to red oak floors:
1. Prepping the room: Make sure the room is well-ventilated and that you have all the necessary supplies on hand, including the finish, a paintbrush or roller, and any protective gear you may need (e.g. gloves, a dust mask). Remove all furniture from the room, or cover it with drop cloths to protect it from the finish.
2. Applying the first coat: Start by applying a thin, even coat of finish to the floor using a paintbrush or roller. Work in small sections, starting at the farthest corner of the room and working your way toward the door. Be sure to get into all the corners and edges, and use a light hand to avoid drips or excess finish.
3. Allowing the first coat to dry: Follow the manufacturer’s drying time recommendations for the finish you are using. This will usually take several hours or overnight.
4. Sanding the first coat: Once the first coat is dry, use fine-grit sandpaper to lightly sand the floors. This will help to smooth out any imperfections and create a more even surface for the second coat. Be sure to sweep up the dust and debris before applying the second coat.
5. Applying the second coat: Repeat the process for the second coat, being sure to apply it in thin, even layers. Allow the second coat to dry according to the manufacturer’s recommendations.
6. Finishing touches: If desired, you can apply a third coat or touch up any areas that may need it. Once the final coat is dry, you can replace the furniture and enjoy your newly finished, natural-looking red oak floors!
By following these steps and using a light hand when applying the finish, you can achieve a natural-looking finish for your red oak floors. It’s important to be patient and take your time, as rushing the process can result in an uneven or unsatisfactory finish.
Maintaining the natural look
Once you’ve achieved the natural look you want for your red oak floors, it’s important to maintain that look over time. Here are some tips for maintaining the natural look of your red oak floors:
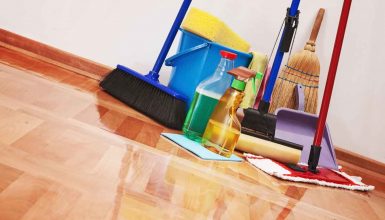
1. Use the right cleaning products: Choose cleaning products that are specifically designed for wood floors. Avoid using harsh chemicals or abrasive cleaners, as these can strip the finish and damage the wood.
2. Sweep or vacuum regularly: To keep your floors looking clean and free of debris, sweep or vacuum them regularly. This will help to prevent scratches and dents caused by dirt or other small particles.
3. Protect the floors from moisture: Water and wood don’t mix, so be sure to protect your floors from excess moisture. Use rugs or mats in areas where water is likely to be present, such as in front of sinks or the bathroom. Wipe up spills and leaks immediately, and use a dehumidifier in humid environments to prevent moisture from accumulating in the air.
4. Touch-up scratches and dents: Over time, your red oak floors may develop scratches or dents. These can be touched up with a wood filler or repair kit specifically designed for wood floors. Simply fill in the scratch or dent, sand it down, and apply a new layer of finish to blend it in with the rest of the floor.
By following these simple maintenance tips, you can help your red oak floors maintain their natural look for years to come. With a little care and attention, your red oak floors can continue to be a beautiful and functional part of your home.
Conclusion
Making red oak floors look natural is all about understanding the characteristics of this type of wood, properly preparing the floors, choosing the right finish, and maintaining the natural look over time. By following the steps outlined in this post, you can achieve beautiful, natural-looking red oak floors that will complement your home and add value to your property.