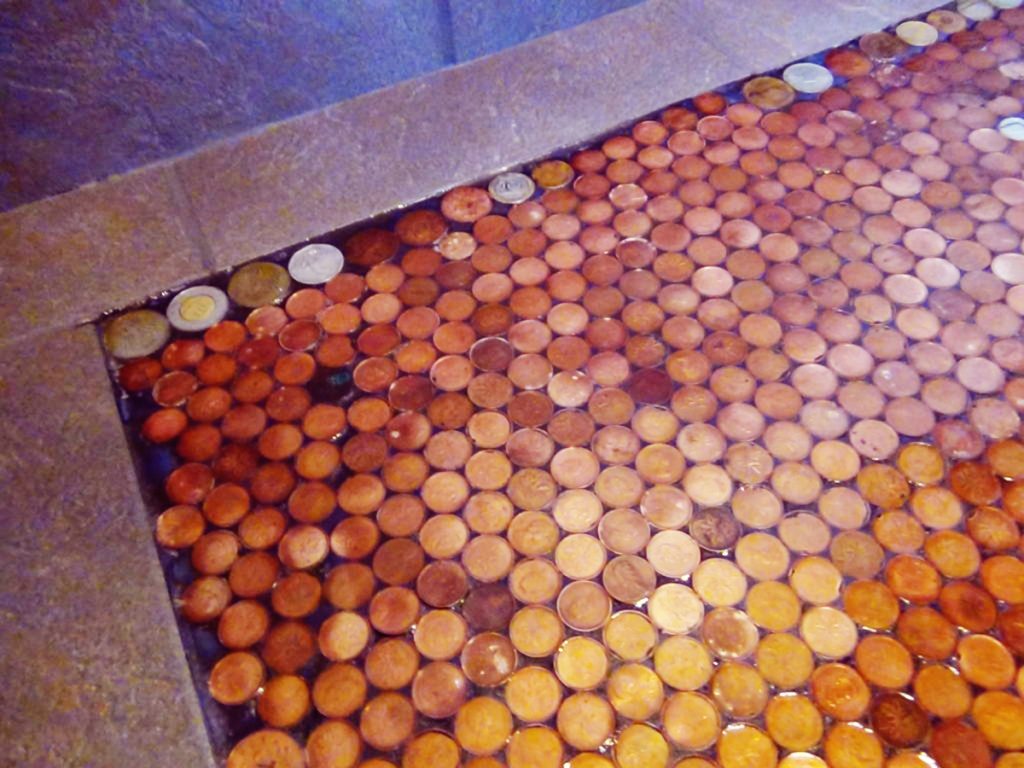
Penny tiles are a popular choice for homeowners looking to add a touch of character and style to their spaces. But as any experienced DIYer knows, tile installation can be a tricky process. One misstep and you could be looking at a costly mistake.
In fact, according to a recent survey, improper tile installation was the number one home renovation regret among homeowners. Don’t let a bad penny tile installation be yours! In this post, we’ll go over the warning signs of a bad installation, common causes, and what to do if you find yourself in this predicament.
Warning Signs
If you’re in the process of installing penny tiles or have recently completed the project, it’s important to be on the lookout for these warning signs of a bad installation.
- Tiles not evenly spaced
This is a telltale sign of a rushed or sloppy installation. Unevenly spaced tiles can ruin the overall look of the finished project and be a real eyesore.
- Tiles not aligned with each other
If your tiles are not properly aligned, they can create a disjointed and chaotic appearance. This is often caused by using a poor-quality adhesive or not taking the time to properly lay out the tiles before installation.
- Grout lines uneven or too wide
Grout lines that are uneven or too wide can ruin the seamless look of your penny tile installation. Be sure to follow the recommended grout width for your specific tiles and take care to evenly apply the grout.
- Tiles not flush with the surface
If your tiles are not properly flush with the surface they are being installed on, it can create a tripping hazard and ruin the overall appearance of the installation. This is often caused by using too little or too much adhesive.
If you notice any of these warning signs, it’s important to address the issue as soon as possible before it becomes a bigger problem.
Common Causes
There are several common causes of a bad penny tile installation. Understanding these causes can help you avoid making the same mistakes and ensure a successful project.
- Using the wrong adhesive
It’s important to use the correct adhesive for your specific tiles and surface. Using the wrong adhesive can cause tiles to become loose or not adhere properly, leading to a bad installation.
- Not preparing the surface properly
Proper surface preparation is crucial for any tile installation. If the surface is not properly cleaned and prepped, it can affect the adhesion of the tiles and lead to a bad installation.
- Cutting tiles incorrectly
It’s important to use the proper tools and techniques when cutting tiles. Incorrectly cut tiles can lead to uneven or misaligned tiles, ruining the overall look of the installation.
- Not allowing sufficient drying time
Allowing adequate drying time for the adhesive and grout is essential for a successful tile installation. If the adhesive or grout is not given enough time to dry, it can cause tiles to become loose or create a weak bond.
By understanding and avoiding these common causes, you can increase your chances of a successful penny tile installation.
How to fix
If you’ve noticed some warning signs of a bad penny tile installation or are dealing with loose tiles, there are steps you can take to fix the problem.
1. Fixing minor problems: If you only have a few loose tiles or uneven grout lines, you may be able to fix the issue yourself. Remove the loose tiles, clean the area thoroughly, and apply the new adhesive. For uneven grout lines, you can carefully remove the excess grout with a grout saw and smooth out the lines with a grout float.
2. When to call in a professional: If the problem is more widespread or you are unsure of how to fix it, it’s best to call in a professional. A skilled tile installer will be able to assess the issue and recommend the best course of action.
Keep in mind that attempting to fix a bad tile installation yourself can sometimes do more harm than good. If you are not confident in your ability to fix the problem, it’s best to call in a professional to avoid further damage.
Tips
To avoid a bad penny tile installation, follow these tips:
- Properly research and purchase materials: Make sure to purchase the correct materials for your specific tiles and surface. Research the best adhesive and grout options and follow the manufacturer’s recommendations.
- Follow installation instructions carefully: Pay attention to the installation instructions provided by the manufacturer. Make sure to allow sufficient drying time for the adhesive and grout and follow any other specific instructions provided.
Conclusion
A bad penny tile installation can be a costly and frustrating mistake. To avoid this problem, make sure to properly research and purchase materials, follow installation instructions carefully, and consider hiring a professional if needed.


