
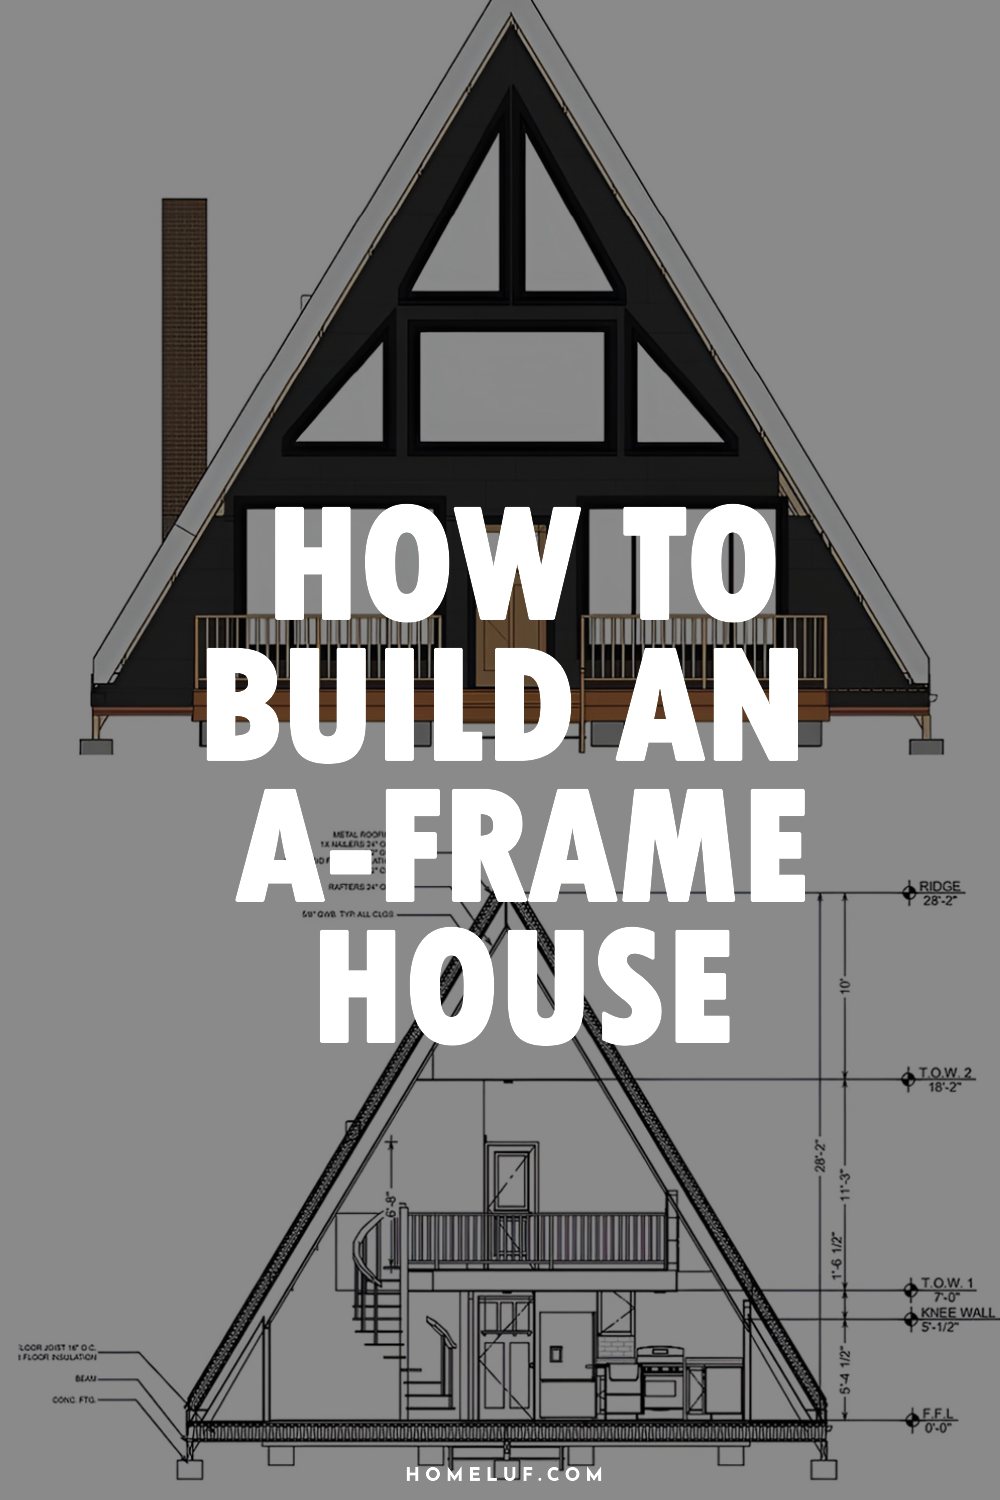
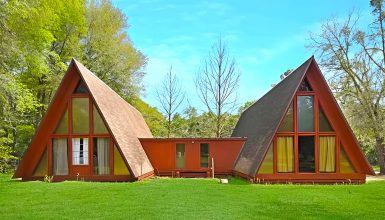
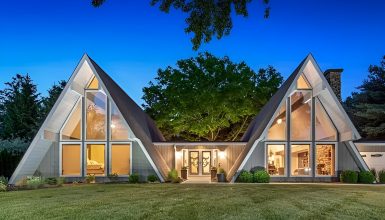
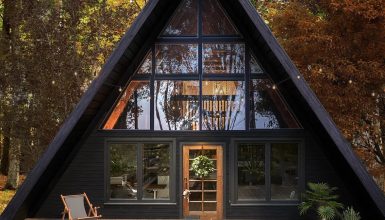
Have you ever gazed at a cozy cabin in the woods and thought, “I wish I could build that!”? What if I told you that you can? A-frame houses make that dream possible. With their steep, sloping roofs and bold lines, these homes are a favorite for good reason. They look charming, work well in every season, and—best of all—are friendly for first-time builders. Ready to roll up your sleeves? Let’s unlock the secrets of building your very own A-frame house, from the first sketch to the final nail.
Why Build an A-Frame House?
Before we dive in, let’s talk about why A-frame houses are so popular. The answer is simple: they’re beautiful, practical, and full of personality.
Easy to Build:
The iconic “A” shape is more than eye-catching. It means the structure is strong and simple to put together. If you’ve ever built a backyard shed or treehouse, you already have a head start.
Perfect for Nature Lovers:
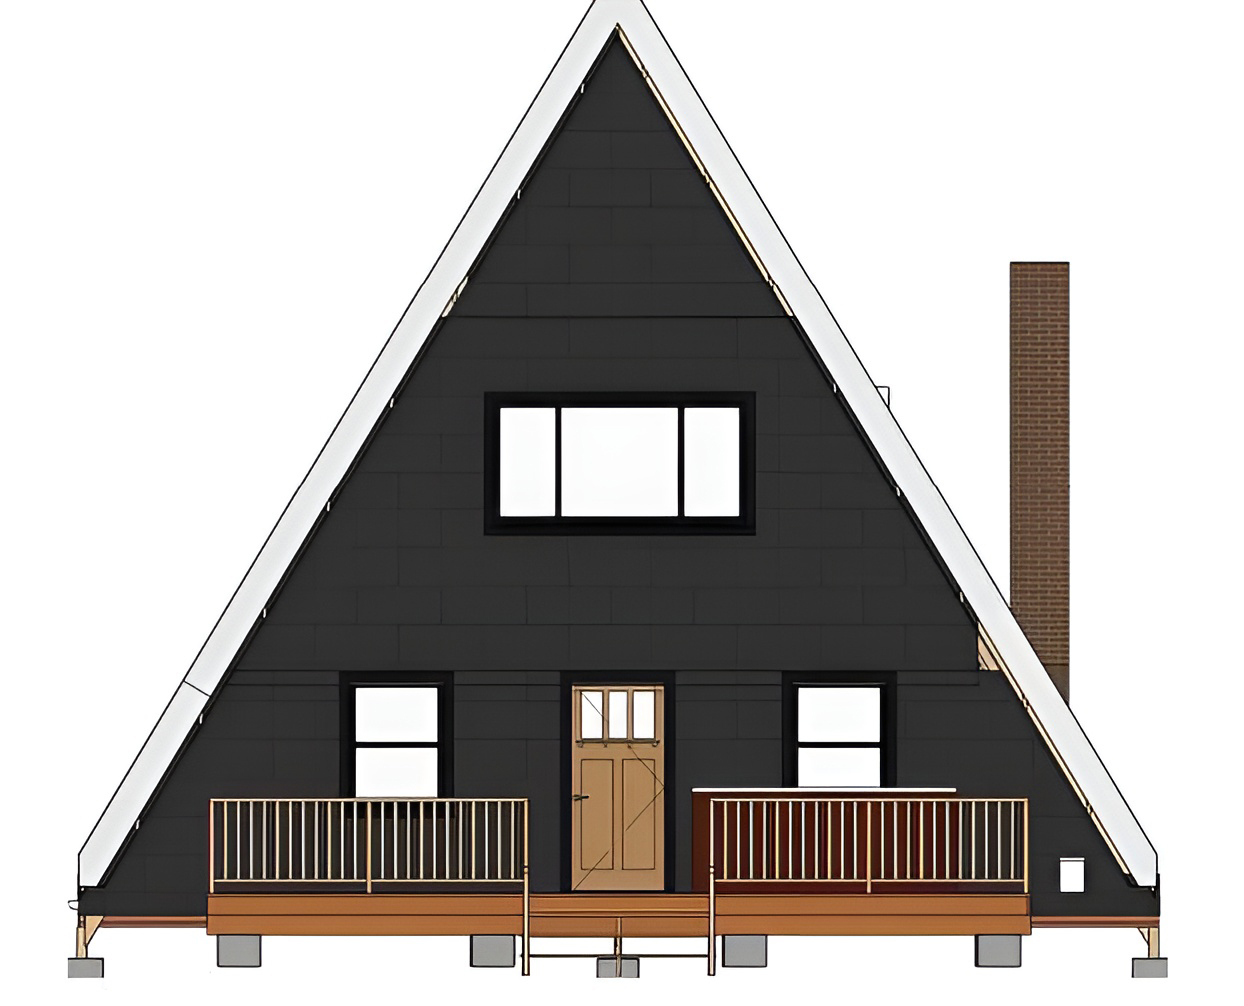
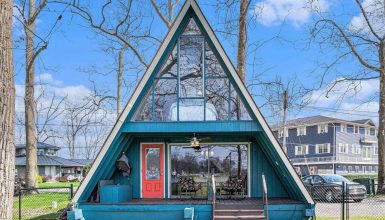
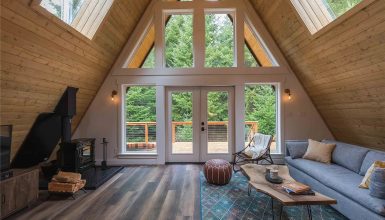
Those big windows? They’re not just for show. An A-frame lets in tons of light and helps you feel connected to the outdoors.
All-Season Comfort:
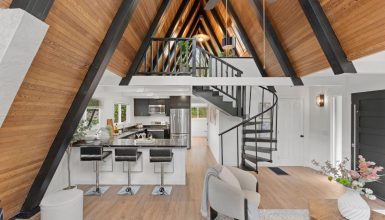
Steep roofs shed snow and rain like a pro. Inside, the open layout makes the most of every inch.
Budget-Friendly:
Simple lines mean fewer materials and less waste. That’s good news for your wallet.
So, are you dreaming of a weekend getaway, a tiny home, or your new forever house? An A-frame can do it all. Now, let’s get building!
Step 1: Dream and Plan
Every great house starts with a dream. Grab a notebook and answer a few questions:
- How big do you want your A-frame to be?
- Will it be for full-time living, or just a weekend retreat?
- How many bedrooms and bathrooms do you need?
- Do you want a loft or an open floor plan?
Sketch It Out:
Draw a rough sketch of your perfect layout. Don’t worry if it looks messy. The goal is to get your ideas out of your head and onto paper.
Location, Location, Location:
Scout for a spot with good sunlight, solid ground, and easy access to water and power. Check if the site drains well after rain.
Check Local Rules:
Before you get too excited, visit your town hall or building department. Ask about zoning laws, building codes, and permits. Skipping this step can lead to headaches later.
Step 2: Gather Materials and Tools
Here’s where the fun starts! A-frame homes don’t need fancy materials. In fact, that’s one of their best features.
Basic Materials:
- Pressure-treated lumber (for the floor and rafters)
- Plywood or OSB sheets
- Concrete (for the foundation)
- Metal roofing or shingles
- Siding (wood, engineered wood, or metal)
- Insulation (rigid foam or spray foam)
- Windows and doors
- Fasteners (screws, nails, bolts, brackets)
Tools You’ll Need:
- Tape measure
- Level
- Circular saw or miter saw
- Hammer and screw gun
- Shovel or auger (for digging)
- Ladders or scaffolding
Pro tip: Renting power tools can save you money if you don’t already own them.
Step 3: Prepare Your Building Site
Time to break ground!
- Clear away trees, bushes, and rocks.
- Mark the house’s outline using stakes and string.
- Use a level to check that your site is flat. This helps prevent problems down the road.
Safety Tip:
Always call before you dig. There may be underground utility lines.
Step 4: Build a Strong Foundation
The foundation is the bedrock of your A-frame. Most people use either a concrete slab or a pier foundation.
For a Slab Foundation:
- Dig out the area to the right depth.
- Build wooden forms around the edges.
- Pour concrete and let it cure.
For a Pier Foundation:
- Mark spots for the piers along the perimeter.
- Dig holes for each pier.
- Set posts and fill the holes with concrete.
- Make sure each pier is level and sturdy.
Why choose piers? They’re great for uneven ground or sites with lots of tree roots.
Step 5: Frame the Floor
With your foundation set, it’s time to frame your floor.
- Use pressure-treated lumber for floor joists.
- Space joists 16 to 24 inches apart.
- Attach the joists to the foundation with anchors or brackets.
- Lay down plywood or OSB to make a solid subfloor.
Walk across it—does it feel sturdy? If yes, you’re ready for the fun part: framing those iconic “A” walls.
Step 6: Create the A-Frame Structure
Here comes the magic!
Cut the Rafters:
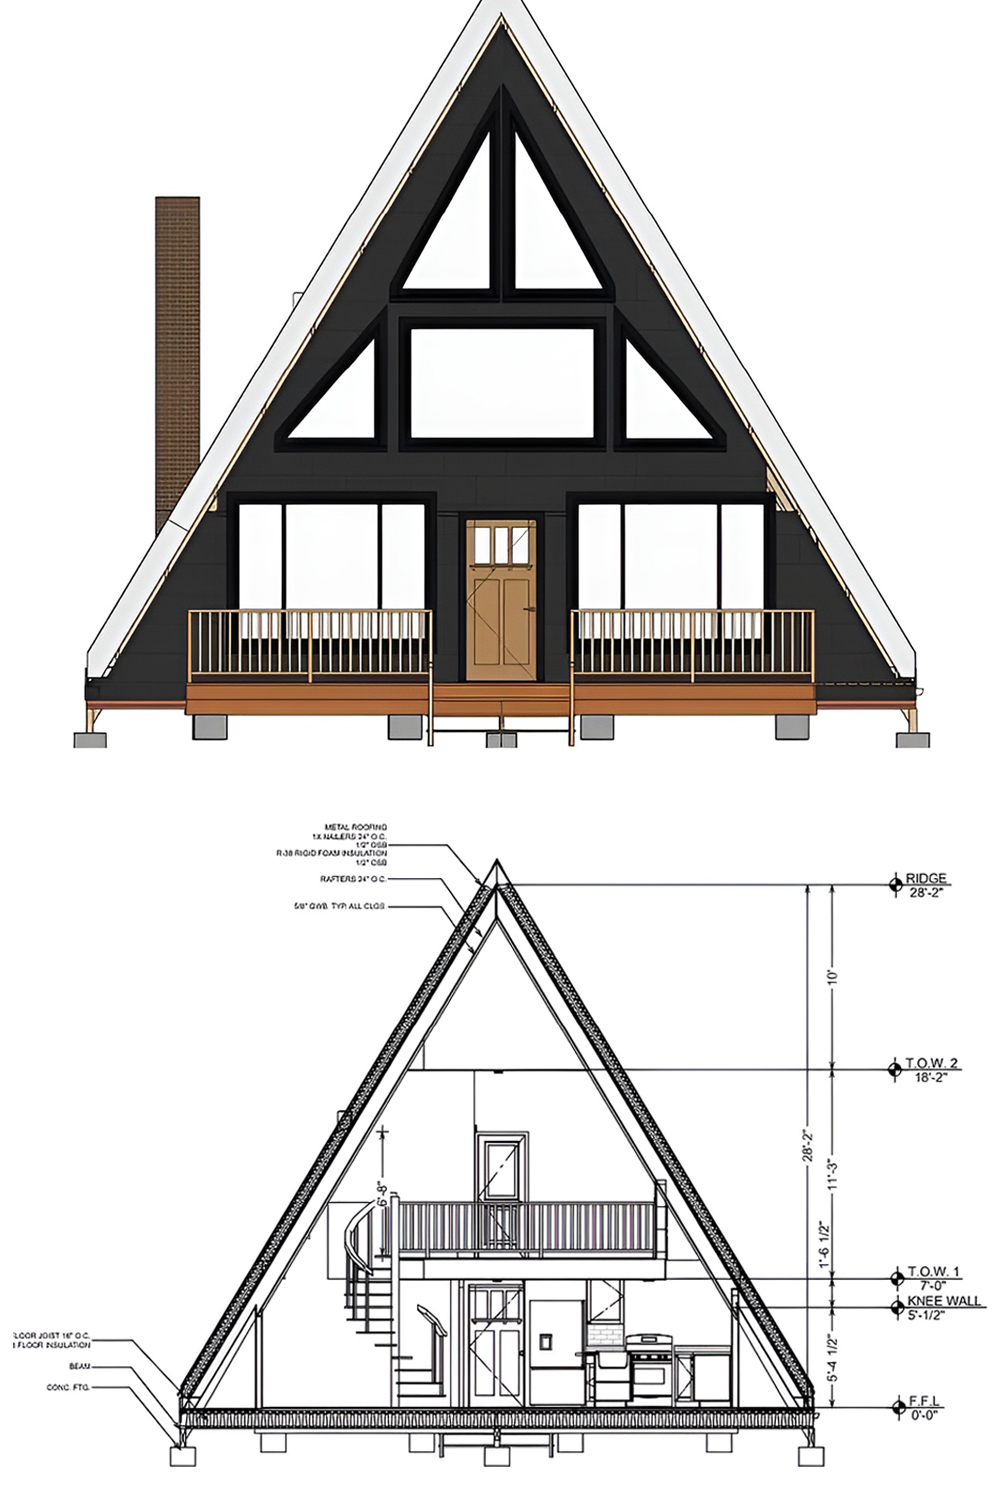
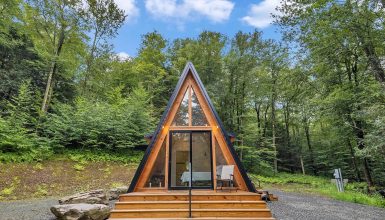
Each side of the “A” is formed by a long rafter. The angle is steep—usually between 45 and 60 degrees. Use your saw to cut each rafter to size.
Raise the First Pair:
Bring two rafters together and stand them up so they meet at the peak, forming a triangle. Use heavy-duty bolts or brackets to secure the peak.
Set the Rafters:
Space rafters about every two feet down the length of the house. Use a ridge beam (the top spine) to tie them all together.
This is a great time to call a friend for help. Lifting rafters can be tricky with just one set of hands.
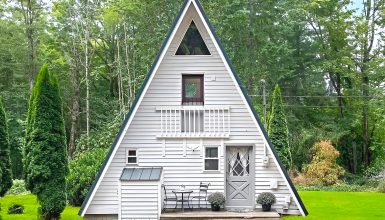
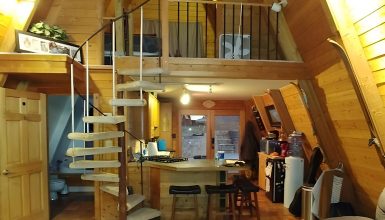
Step 7: Add Loft and Floors
Want a loft? Now’s the time!
- Halfway up the rafters, frame a platform using joists.
- Cover with plywood for a sturdy loft floor.
Lofts are perfect for sleeping or extra storage. They make the most of your tall, open space.
Step 8: Frame the End Walls
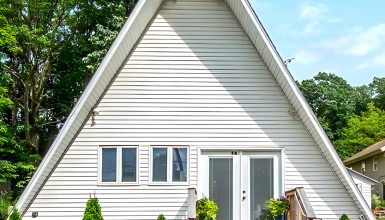
The front and back of your A-frame house are flat. Frame them just like you would any wall.
- Use studs spaced every 16 to 24 inches.
- Add headers for windows and doors.
- Secure the end walls to the rafters and floor.
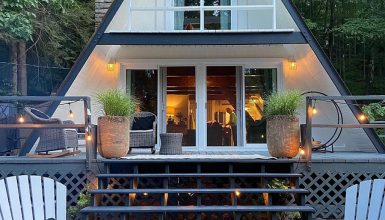
Don’t forget to leave space for a front door and any big windows you want. Large glass doors let the outdoors in and fill the space with sunlight.
Step 9: Add Roofing and Siding
Time to weatherproof your new home!
- Cover the rafters with plywood or OSB sheathing.
- Staple down a waterproof underlayment.
- Install metal panels or shingles for the roof. Metal is popular for A-frames because it sheds snow and lasts for years.
For the sides, you can use:
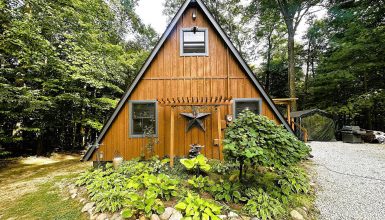
- Wood siding (for a rustic look)
- Engineered panels (easy and budget-friendly)
- Metal (for a modern twist)
Whatever you pick, make sure it’s sealed against water and wind.
Step 10: Windows and Doors
Carefully install windows and doors in the end walls and any openings you added to the sides.
- Use weatherproof flashing and caulk around each opening.
- Double-check that everything opens and closes smoothly.
Want more natural light? Many A-frame fans add big glass panels or sliding doors at the front. This makes the house feel bright and connected to nature.
Step 11: Insulate and Finish Inside
A-frames have lots of roof area, so good insulation is a must.
- Place rigid foam or spray foam between the rafters.
- Seal gaps to keep out drafts.
- Cover the inside with drywall, shiplap, or wood paneling.
Now, the space really feels like a home! Add flooring, paint, and trim to match your style.
Step 12: Install Utilities
Don’t forget the basics! This step can be simple or complex, depending on your needs.
- Electrical: Run wiring for outlets, lights, and appliances.
- Plumbing: Install pipes for kitchen and bath.
- Heating/Cooling: A wood stove, mini-split system, or radiant floor heat work well.
If you want to go off-grid, look into solar panels, rainwater collection, and composting toilets.
Pro Tip: Call licensed pros for any work you’re not sure about. Safety first!
Step 13: Add Personal Touches
Now comes the best part—making it yours.
- Choose cozy furniture for your living area.
- Hang curtains, art, and family photos.
- Add shelves, storage nooks, and lighting.
Don’t forget the outside! Decks, patios, or firepits are perfect for enjoying your new home in every season.
Step 14: Inspect and Move In
Before you move in, call your local building inspector. They’ll make sure your A-frame meets all the rules and is safe to live in.
Once you get the green light, it’s time to unpack, kick back, and enjoy the view!
A-Frame House Building Tips and Tricks
Let’s wrap up with some handy advice for your project:
1. Keep it Simple:
The charm of an A-frame is its simplicity. Don’t overcomplicate your floor plan.
2. Think Up, Not Out:
Use vertical space for lofts and storage.
3. Embrace Windows:
The more glass you add to the end walls, the brighter your space will be.
4. Work with the Weather:
If you live in a snowy area, steeper roofs are better. They shed snow fast.
5. Build with Friends:
Raising rafters and walls is easier (and more fun) with a helper.
6. Plan for the Future:
Think about adding a deck, garden, or solar panels later on.
Common A-Frame Questions
How long does it take to build an A-frame house?
With good planning, a small A-frame can go up in a few months. More complex builds may take longer.
How much does it cost?
Costs vary by size, materials, and your location. Many DIY builders finish a small A-frame for $30,000 to $80,000.
Can I build it myself?
Yes! Many people do. Start with good research and ask for help when you need it.
Final Thoughts
Building an A-frame house is more than just a project—it’s an adventure. From that first sketch to the final walk-through, every step brings you closer to the home of your dreams. With their simple lines and strong design, A-frames are the perfect choice for anyone who wants to create something special.
So, are you ready to trade your dreams for blueprints and your ideas for real walls? Your future A-frame is waiting—simple, striking, and completely yours. Start today, and let the adventure begin!